


At long last, the practical final installment of the gut health series! This post is to help provide practical tips to increase probiotics and prebiotics in ya life to increase your gut/ overall health! Before you get started you may want to recap the previous posts in the Gut Health series.
Probiotics
Here are some of the easiest ways to add healthy bacteria into your gut!
- The easiest way to get more probiotics in your life is to take a probiotic supplement. For more info on how to pick the right one - read Gut Health 200. However, they are expensive, and if your gut is already in good shape, it may not be necessary to continue long term. I always advocate to try to get the bulk of your nutrients from whole foods, and here is no different.
- Lean in and switch to the 'booch instead of soda. Kombucha - you've probably heard of this bubbly, magical drink. It is actually fermented tea, and is an awesome way to get more good bacteria in your life. Make sure you find brands that keep the sugar to no more than 4gs per serving. Bonus, if you are hooked on soda- it is a great substitute!
- Add more fermented foods into your life! Fermented foods such as kimchi (the national food of Korea! A spicy pickled cabbage dish) or sauerkraut (European origin pickled cabbage dish) are #shedapproved and are loaded with the good stuff. This is particularly good in the winter when fresh produce is less available (or historically was less available! That is how people would stay healthy all year round!). While Kimchi is not available everywhere, you can opt to go to a Korean mart and they are typically sold there. Many grocery stores sell sauerkraut. If those aren't in your neighborhood you can always make it yourself (Links: How to make easy kimchi at home, How to make sauerkraut in a mason jar).
- Greek yogurt (or Siggi's Icelandic style) and kefir are Month 1 #shedapproved and a great source of good bacteria. You know that watery stuff that sits on the top of yogurt? Don't pour it out or avoid it- that's where the healthy bacteria live! Be sure to mix it in fully! My one warning here is to avoid added sugar in your yogurt/kefir. Better to get the plain, full fat versions and add your own berries and honey!
- Beer and Wine! Whaaaaat? Alcohol? Yep. The catch? Commercial beer is rigorously filtered and won't have the health benefits. Just another reason to try home brew! Also, don't overdo it. It negates the health benefits! Stick to one beer or glass of wine at a time (2 tops!) to maximize the benefits and prevent weight gain!
prebiotics
Prebiotics keep the good gut bacteria happy and healthy! Because they need food too! The key to making gut bacteria happy? FIBER!!
- Freeze pre-ripe (lightly green still) bananas to add to your smoothies. You don't notice the flavor/texture difference as much as if you just ate them outright. Bonus - there is less sugar in these nanners so they are better on the waistline!
- Raw dandelion greens salad with raw asparagus (see recipe below!). Refreshing, light, crunchy, and yummy!
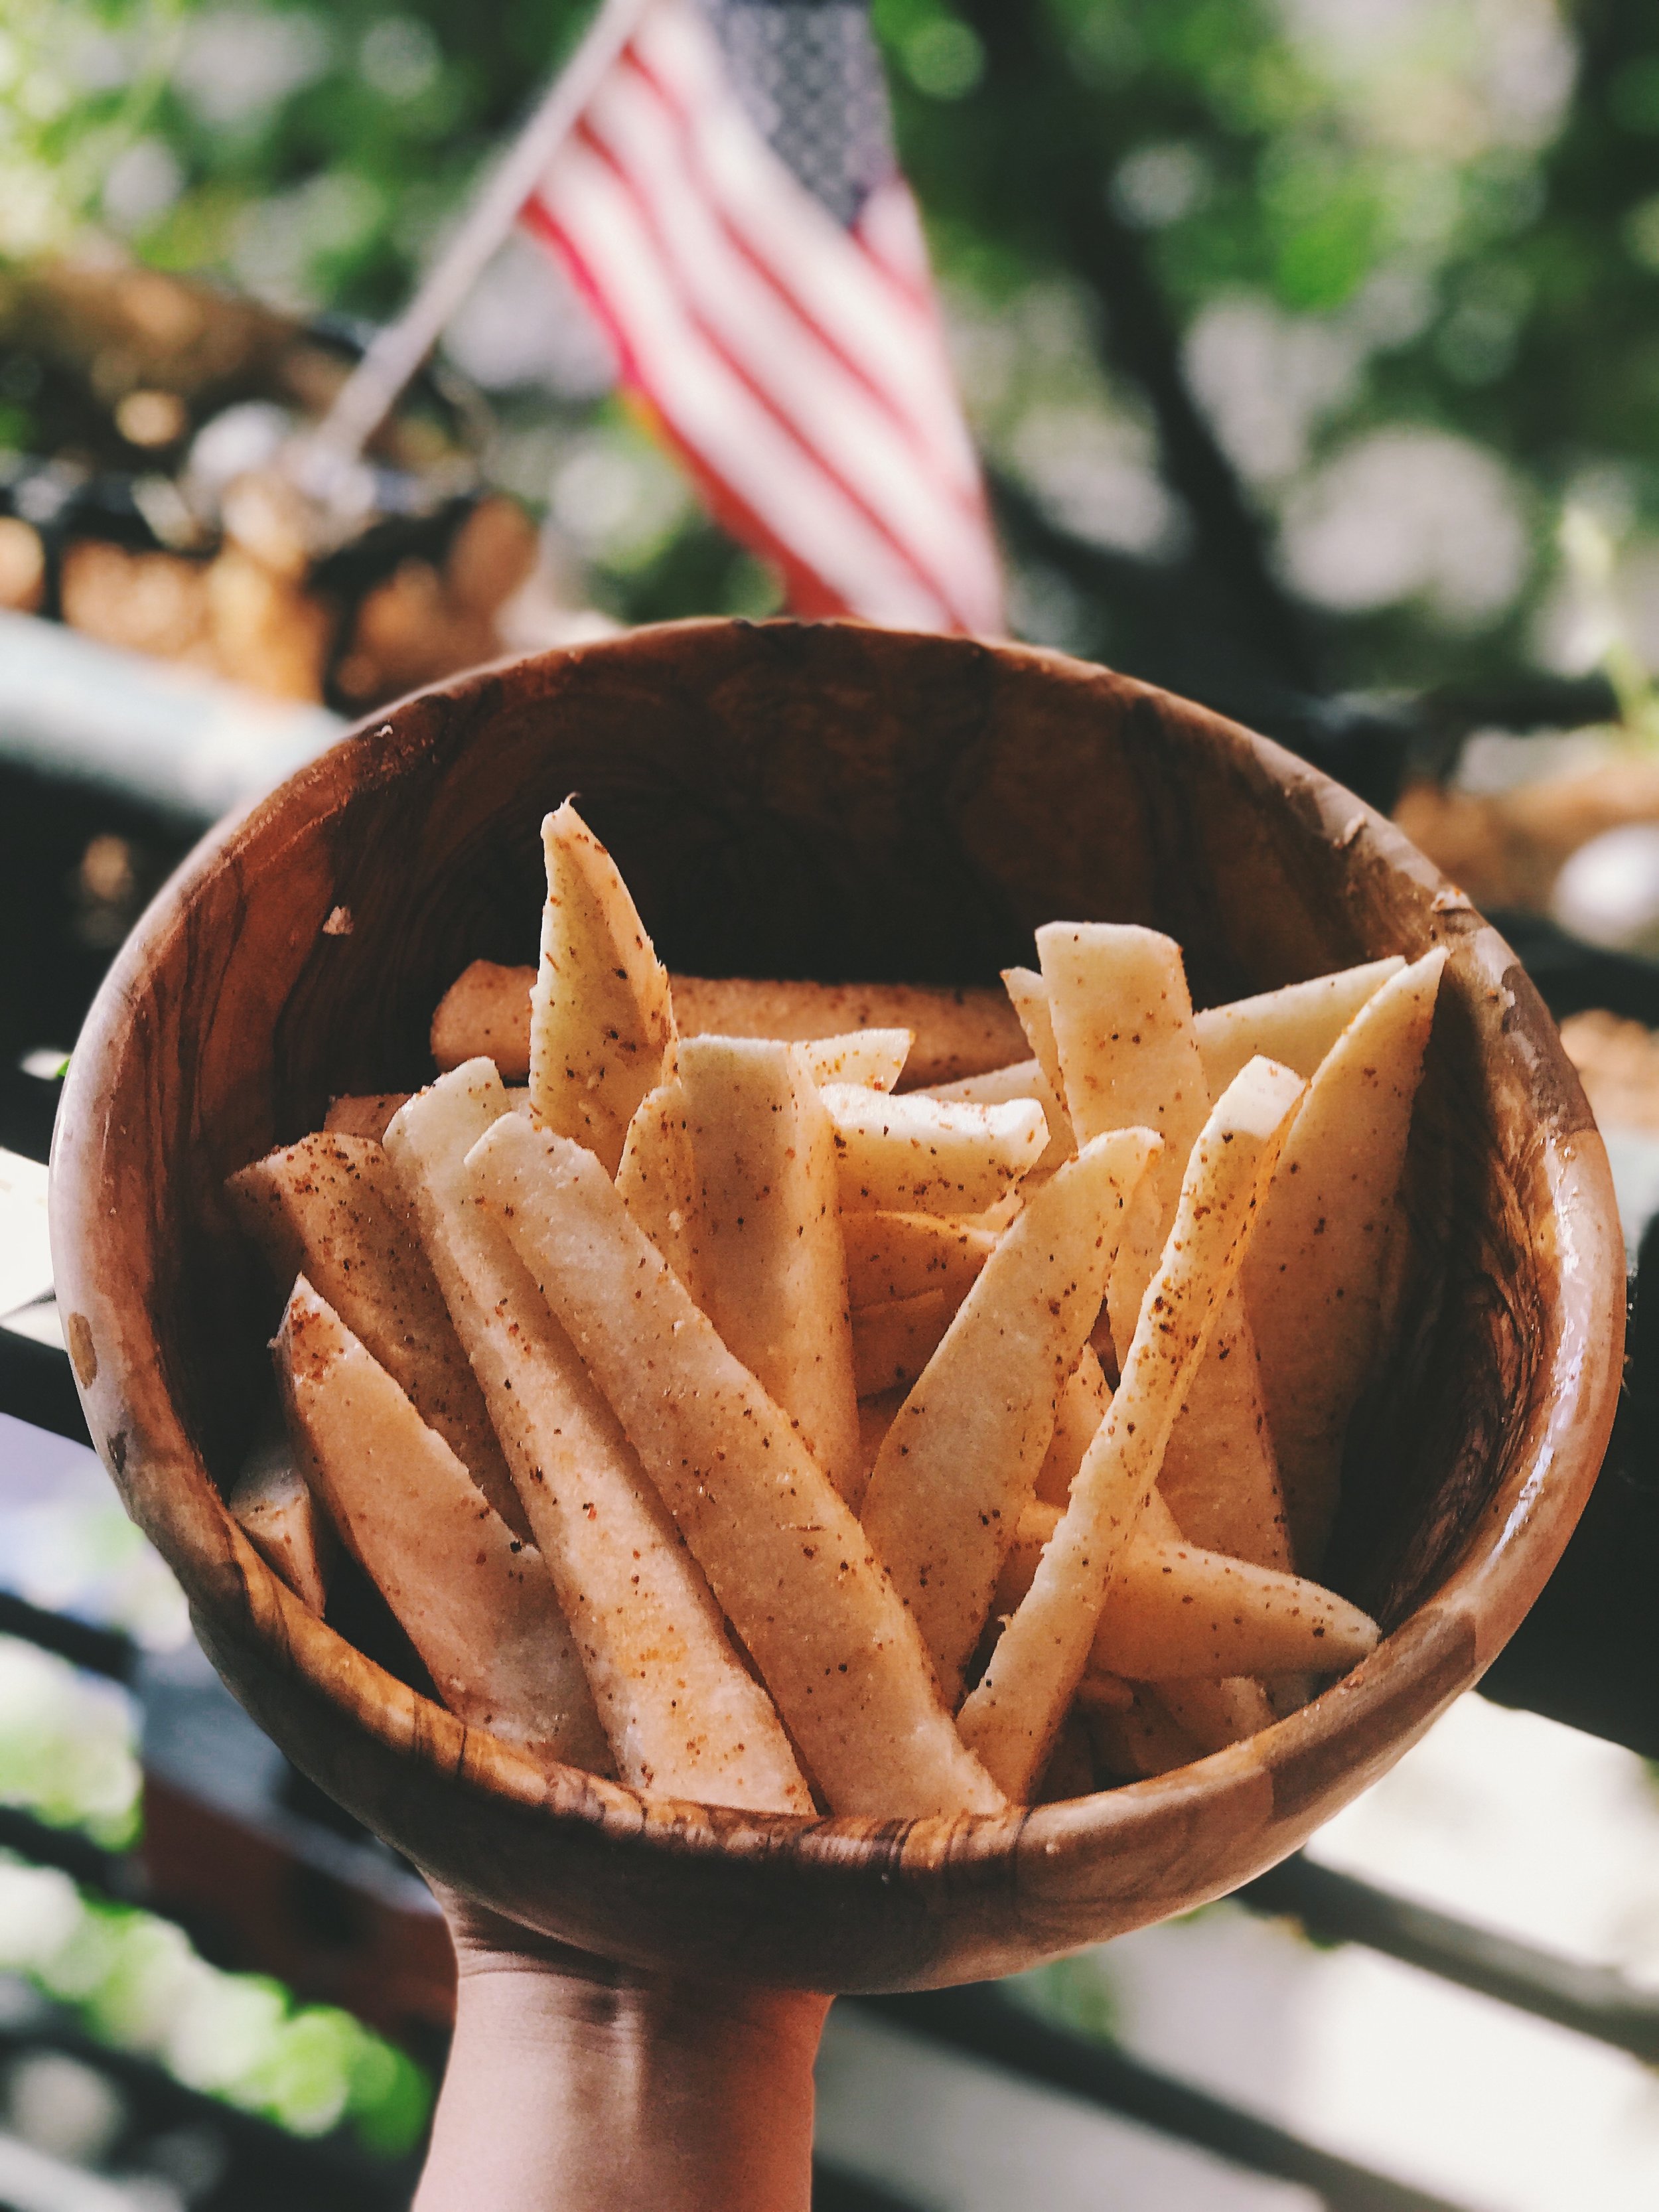
- Jicama chips (I mean fries. I swear I don't know where these Britishism are coming from)! So refreshing in the heat of summer. Check out the recipe below!
- GG crisps/crackers. Month 1 Shed approved and LOADED UP with fiber. Be sure to look for the ones with psyllium husks (pumpkin and sunflower seed versions have this) on the ingredients list for gut friendly bonus!
- Any other fruits and veggies you like. The key here is the fiber, so leave the skins on (where you can - ie cucumbers, apples, etc) and eat up all the pulp you can!
Here is a list of some of the top prebiotic foods not included above:
- Raw chicory root - the top source, with almost 60% fiber
- Raw Jerusalem artichoke
- Raw garlic
- Raw leeks
- Raw onions
- Cooked onions
- Whole wheat
- Legumes
This is by no means an exhaustive list, it's more of a prompting to get some new healthy eats in your routine! I hope you found the Gut Health series educational and beneficial. What are you going to do to add more gut friendly foods into your routine? Leave me a comment here or on Instagram! - AHS
Mexican style raw Jicama fries
Ingredients
- 1 jicama
- Extra virgin olive oil (start with a tbsp, add as necessary)
- Tajin* or other chili lime seasoning blend to taste
Instructions
Peel jicama with a vegetable peeler. Cut into "fry" shape. I made mine a bit thicker. Coat lightly with olive oil and Tajin. Eat immediately for a filling snack and/or appy!
*Tajin is a Mexican spice blend that is amazing on fruit- it's incredible on watermelon too! You can order off amazon or get it at your local Mexican store if there is one close to you! You can also make this gringo style with paprika, onion powder, and chili powder.
Dandelion Greens Salad
(adapted from the SHED program) (serves 1)
This salad is an amazing summer detox salad and gut health booster!
Ingredients
- 1⁄2 apple, chopped (skin on!)
- 1 fennel bulb, sliced
- 2 cups dandelion greens
- 3 spears of raw asparagus, chopped into 4 bites pieces
- Salt and pepper to taste
- 1⁄2 tbsp balsamic vinegar
- 1 tbsp extra virgin olive oil
- sprinkle of parmesan (optional)
Instructions
Mix ingredients in a bowl and enjoy a crunchy gut healthy lunch!


