


As a special request, I attempted Lee from America's Coconut Fat Balls. I altered the recipe slightly to fit my needs, one of which was MATCHA. Cuz matcha is always a need right?

I added Vital Proteins Matcha Collagen, to boot. Why? Matcha contains 137 times the amount of free radical-fighting antioxidants as other green teas and you now can eat them! AND as you know from my collagen post there are so many benefits to adding collagen into your routine. Hello healthy hair, skin, nails, bones and joints! The works. This was a fun way to try out a new way to get my collagen into the routine!
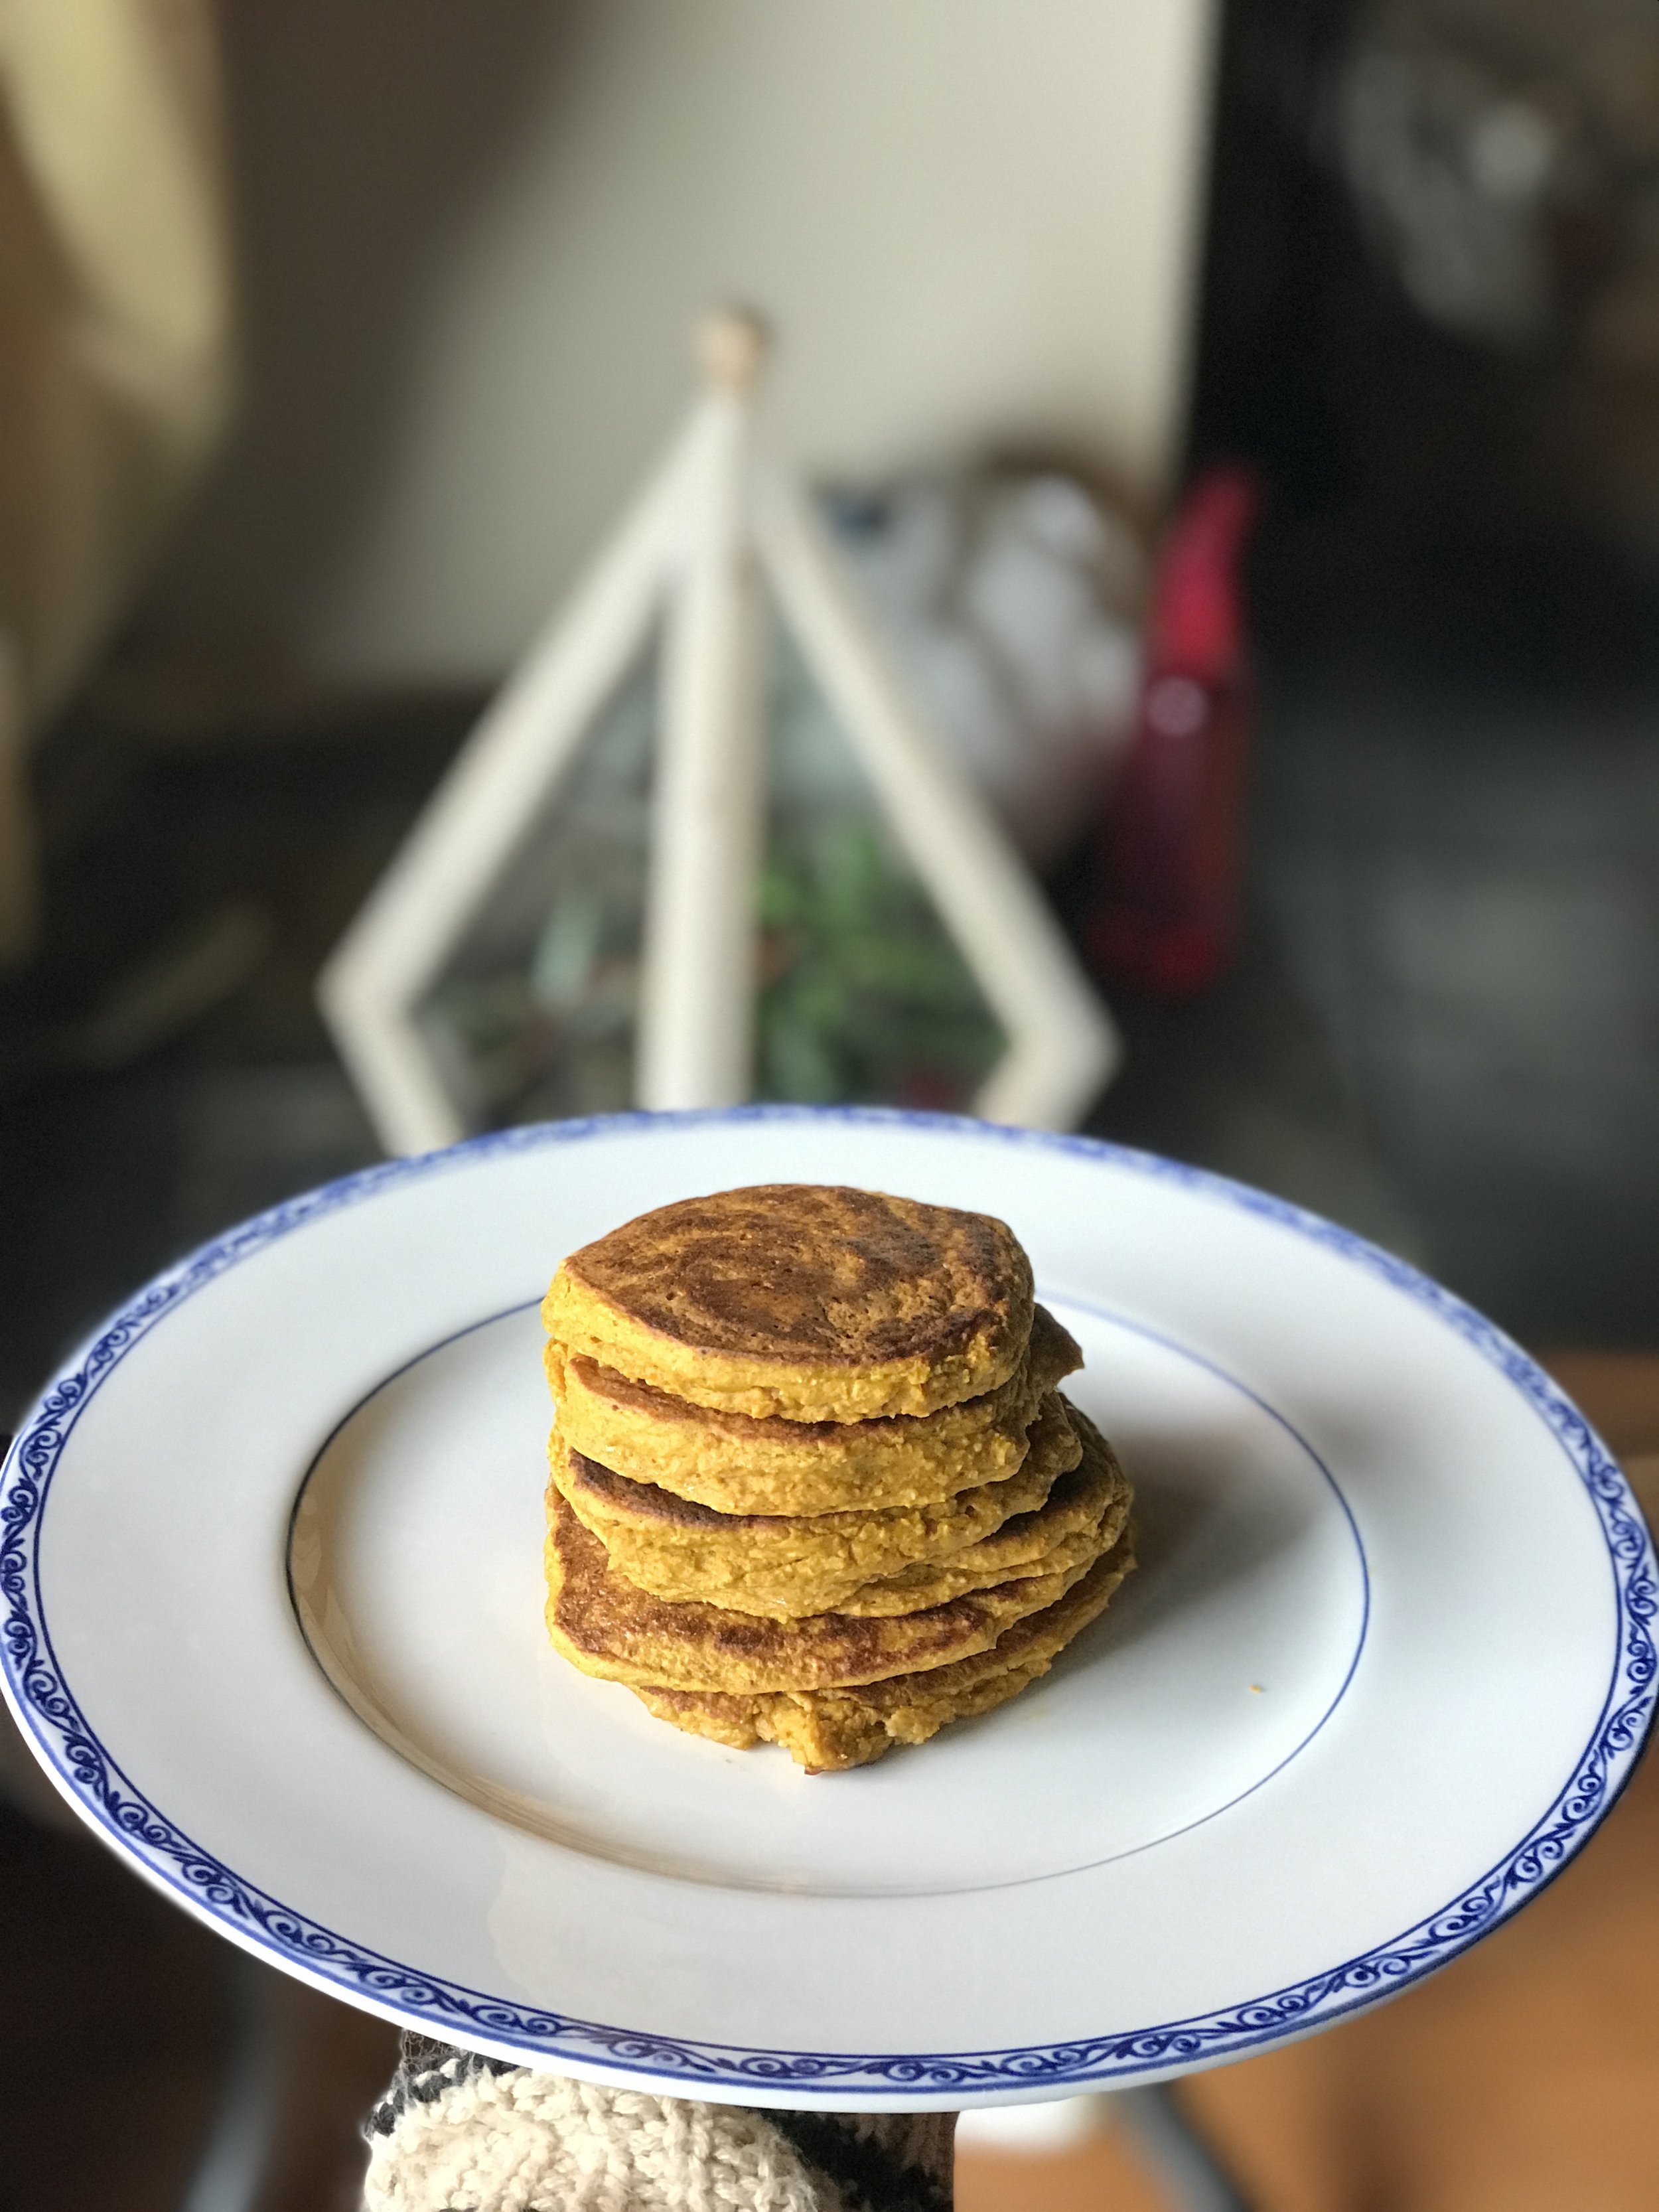
If you follow Lee, you may know she is obsessed Coconut Butter. I have yet to try the magical substance, and it is not available everywhere. That's where my good friend ghee comes in. I substituted ghee for coco butter, and it worked really well. It probably gave the balls a slightly different texture. I think it's the reason my "balls" really look more like cookies.
Ghee is a form of clarified butter and it's kinda amazing. It's great for people who are sensitive to dairy and it has a higher smoke point than plain butter. Confused about what it is? Clarified butter starts as unsalted butter that is heated on low heat, which causes the milk solids to separate from the rest of the liquid. The milk solids fall to the bottom of the pan after the butter melts. Any foam sitting on the surface is removed. Ghee takes it one step further- after the milk solids separate the butter is simmered until all of the moisture evaporates and the milk solids brown slightly in the pan. This gives ghee a richer, nuttier flavor.

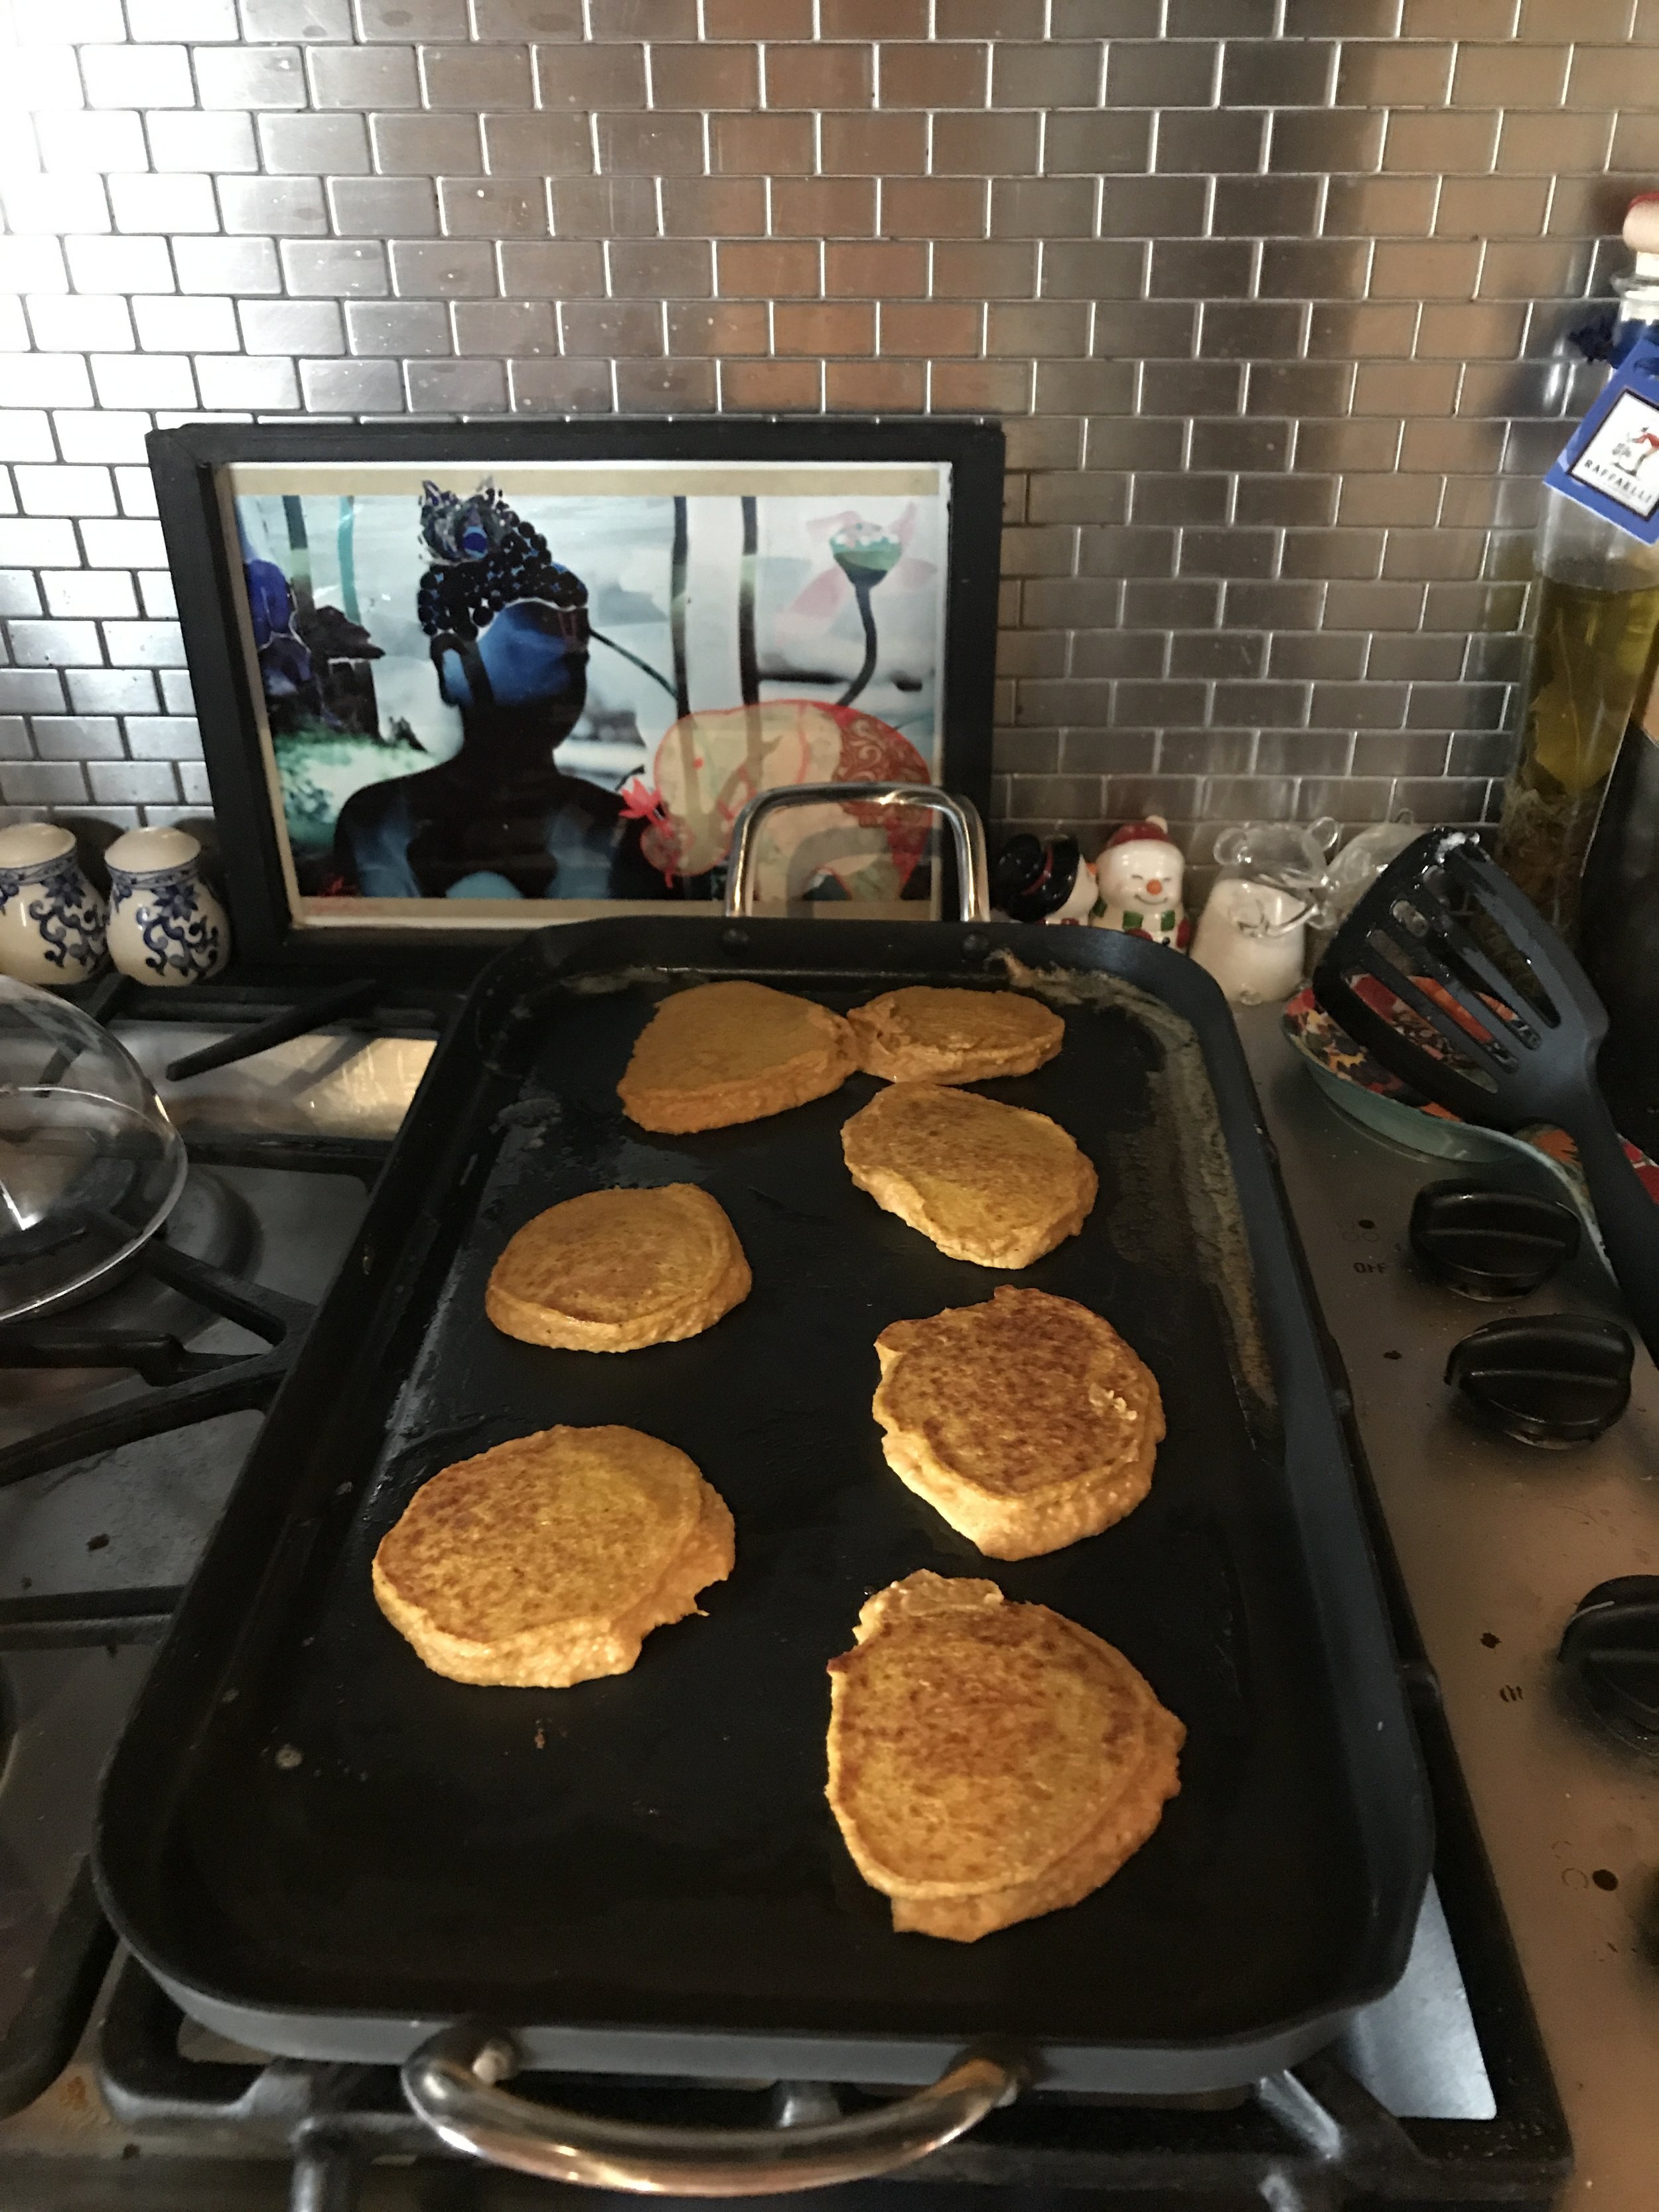
I tried at first to fit them on a cookie sheet- my freezer was not big enough for that. So I switched to the plate.

Yep, that's Stolichnaya in my fridge. All about balance right? Fat balls and Stoli, what a combo.
Ghee also has a lot of awesome health benefits - one of which is being anti-inflammatory which is one of my bigger qualms with dairy in general. It also helps to improve digestion, build strong bones, and even can act as a detoxifier! To learn more about ghee's benefits, read this article.
Back to the fat balls... got a little distracted by glorious ghee there for a moment! I also thought I had dates in the fridge- and I only had one! So to make up for it I added a smidge of honey. I thought it would make them super sticky, but it didn't in the end! The original recipe called for 3 dates – if you would prefer that to honey! Also, apologies to any of you with nut or coconut allergies- just reading the recipe may cause you to break out into hives.
What I loved about the balls is that they are a perfect snack. If I do a smoothie for lunch and I get hungry- it's the perfect balance and it really feels like a treat! I sometimes forget they are in the freezer - and it's so awesome to find them when I am really wanting a treat and can't find anything! Also side note: I do not advise eating these as an after dinner dessert. They are obviously full of fat, and your body will not have a good amount of time to digest them before bed! Better as an afternoon treat. :)
Oh, one more thing! If you want to make these matcha collagen style like I did, Vital Proteins is having a promo this week: buy one get one 20% off. It's going on through 5/28. So take advantage if you can! You can buy here.
Code: SUMMERKICKOFF
So without further ado the recipe is below!
Vital Proteins did not pay me to write this post. But they did provide the matcha! If you buy through any of the links I provide, I will get a small commission at no added cost to you. :) And just in case you weren't sure, my opinions all my own.
Matcha Collagen Fat Balls
(adapted from Lee from America's Coconut Fat Balls)

Ingredients
- 1 cup coconut shreds
- 1/2 c. coconut oil, melted
- 1/4 cup ghee, melted
- 1/4 cup sunflower seeds
- 1/4 cup pepitas
- 1/2 cup cashews (I used roasted unsalted)
- 2 tbsp cacao nibs
- 1 scoop Vital Proteins Matcha Collagen
- 1 tsp cinnamon
- 1 medjool date (pitted)
- 1 tsp honey
- 1/3 c. almond milk
Equipment
- Food Processor
- (Some say a blender can be used instead, but I haven't tested it.)
Instructions
- Blend everything in a food processor until dough is achieved. Dough will be wet, that’s good!
- Roll into bite sized balls then lay flat and freeze. Once frozen, place in an airtight container and put back in the freezer for storing. They can last for a while in there!
- Remove from freezer and let thaw 6 minutes before eating for optimal deliciousness!